Microsoft Entra ID / Azure AD
Requirements
To integrate Pyplan with Microsoft AD it will be necessary to create an Azure Enterprise App.
Instructions
Azure Portal — Microsoft Azure
Access the Azure Active Directory — App Registrations:
https://portal.azure.com/#blade/Microsoft_AAD_IAM/ActiveDirectoryMenuBlade/RegisteredApps
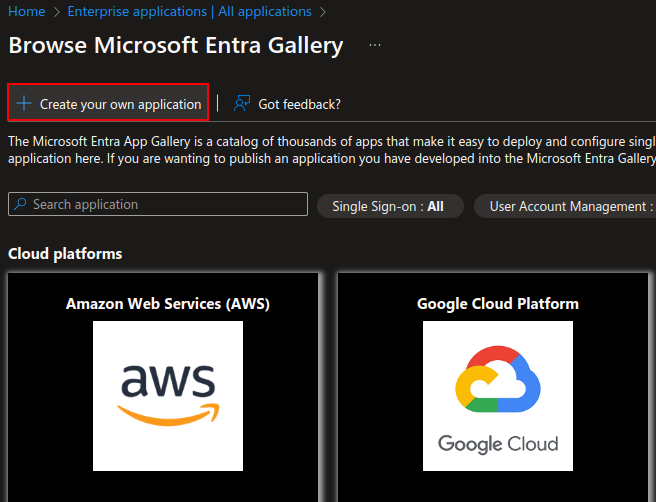
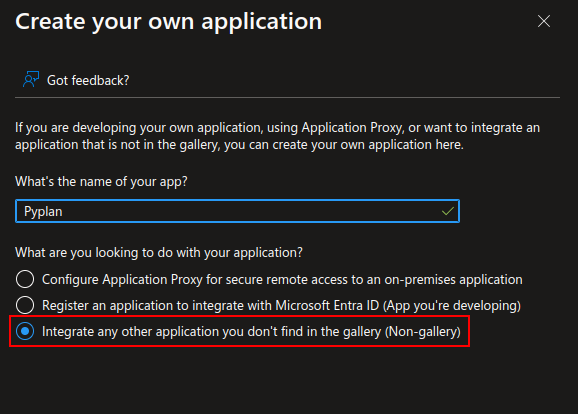
Create the New App
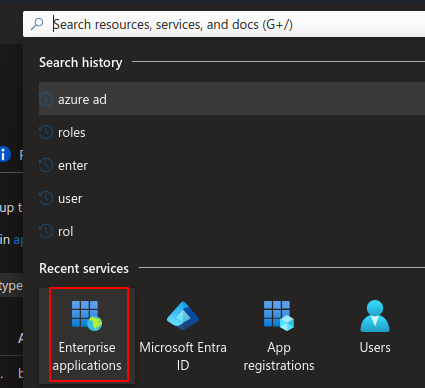
Enterprise Apps service
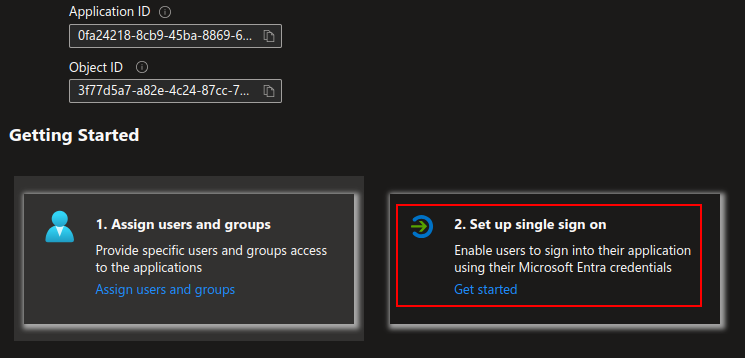
Assign Users and Groups

SSO Configuration
The following section edits the connections between the IDP and Pyplan.
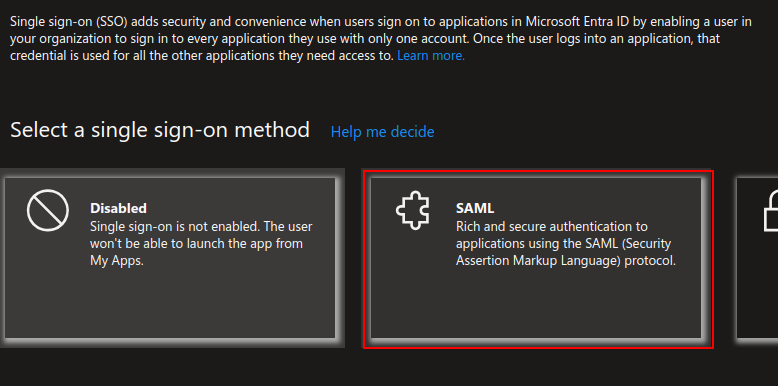
Select the SAML configuration:
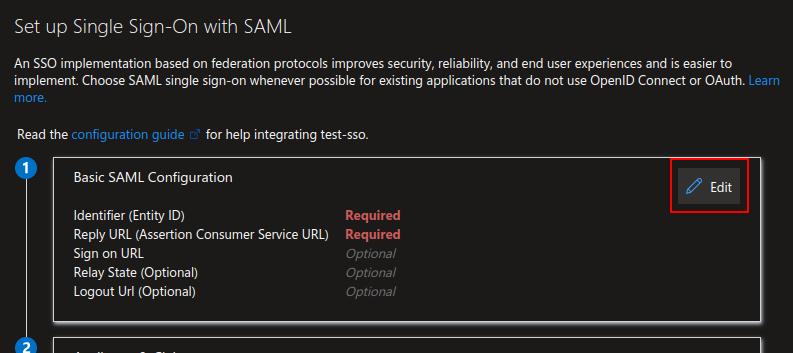
Configure it with the following parameters:
| Field | Value |
|---|---|
| Identifier (Entity ID) | https://[DNS_CLUSTER_INGRESS]/api/saml2/metadata/?code=[COMPANY_NAME] |
| Reply URL | https://[DNS_CLUSTER_INGRESS]/api/saml2/acs/?code=[COMPANY_NAME] |
| Sign On URL | https://[DNS_CLUSTER_INGRESS]/api/saml2/login/?next=[DNS_CLUSTER_INGRESS]&code=[COMPANY_NAME] |
| Relay State | (Empty) |
| Logout URL | https://[DNS_CLUSTER_INGRESS]/api/saml2/ls/?code=[COMPANY_NAME] |
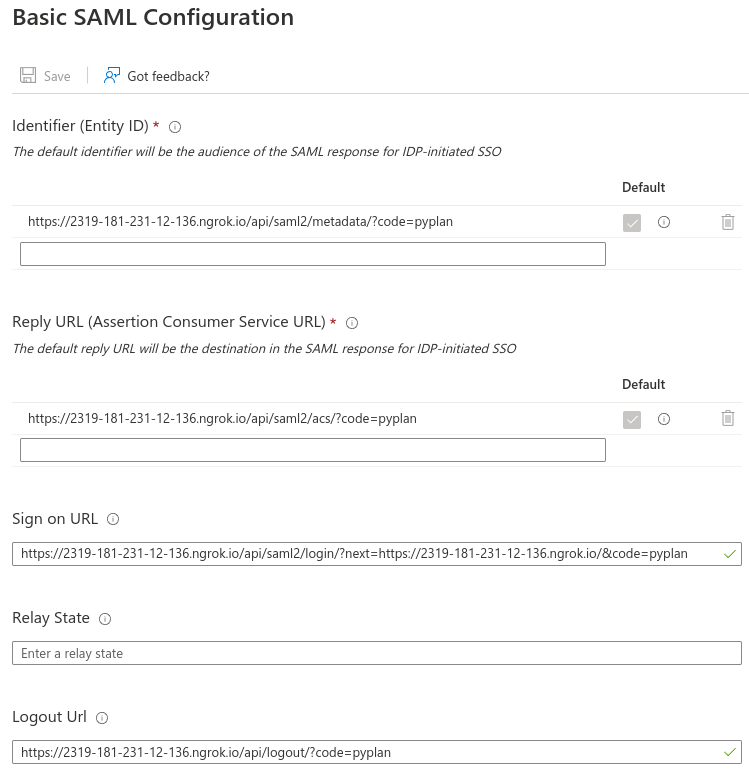
Example
SAML Certificates
Edit the Signing Option and the Algorithm.
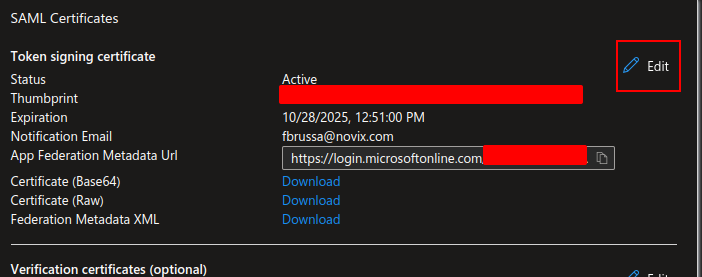
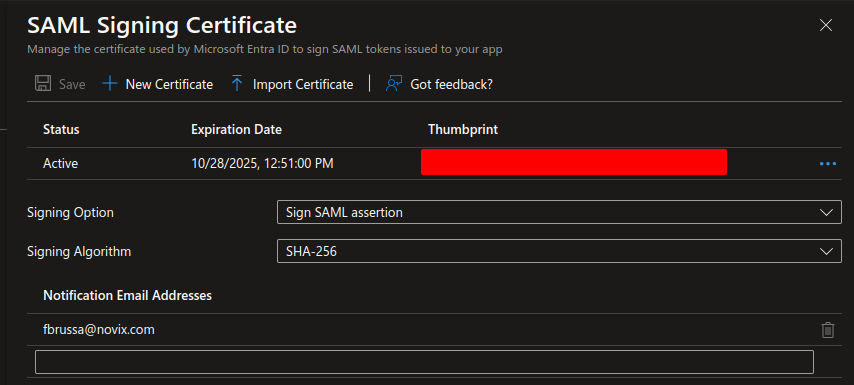
The Sign SAML assertion setting is mandatory.
Azure Groups (Optional)
Pyplan allows matching an Azure group with a set of specific permissions within the application to facilitate the tasks of the security team.
For more information: Security Options
Choose one of the following patterns for each tenant and keep it consistent across the SAML configuration:
| Flow | What Azure sends in the SAML token | Recommended use |
|---|---|---|
| Group Claims | A groups claim with the Azure application group name. | Use this when Pyplan should receive the group name and resolve the final role and department internally. |
| Extension Attribute | The same profile value in both the role and department claims. | Use this when the tenant already maintains a normalized profile attribute and wants Azure to send the effective profile directly. |
Azure Groups — Group Claims
The Group Claims flow keeps profile management in Azure groups. Microsoft Entra ID sends the application group name in the SAML token, and Pyplan maps that value to the final role and department internally.
Below we show the high-level integration flow for Group Claims:
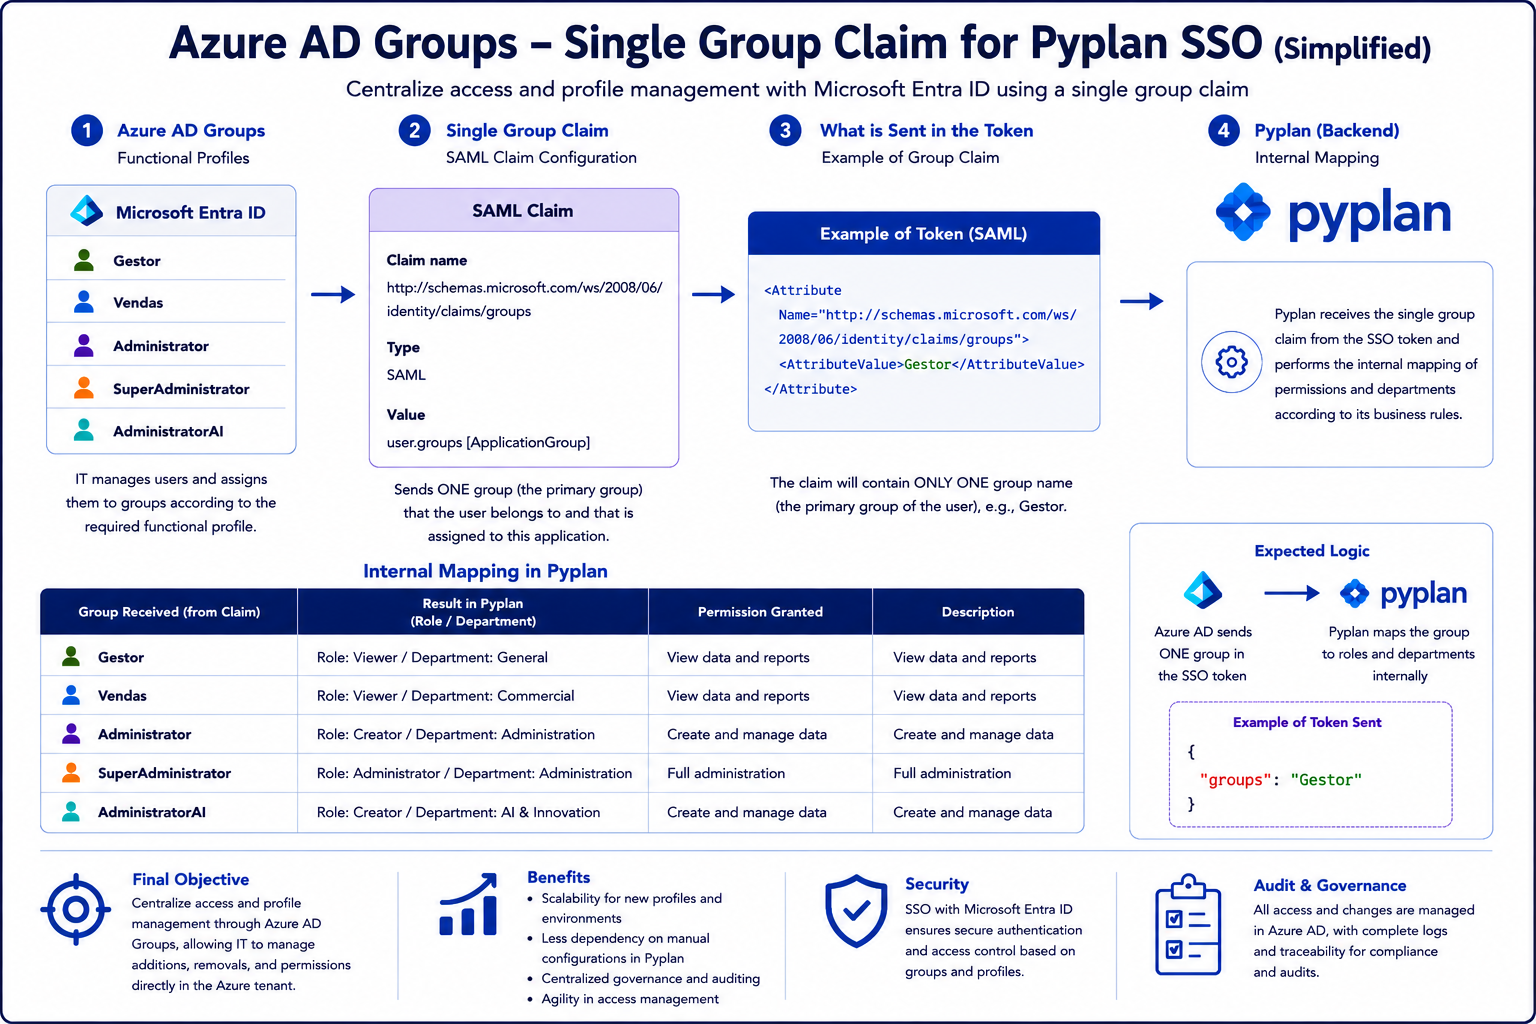
Expected claim:
| Claim name | Type | Value |
|---|---|---|
http://schemas.microsoft.com/ws/2008/06/identity/claims/groups | SAML | user.groups [ApplicationGroup] |
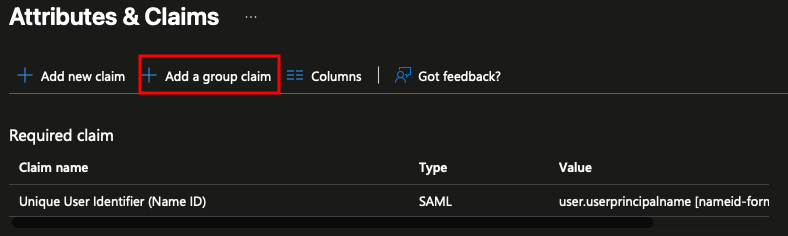
Typical steps:
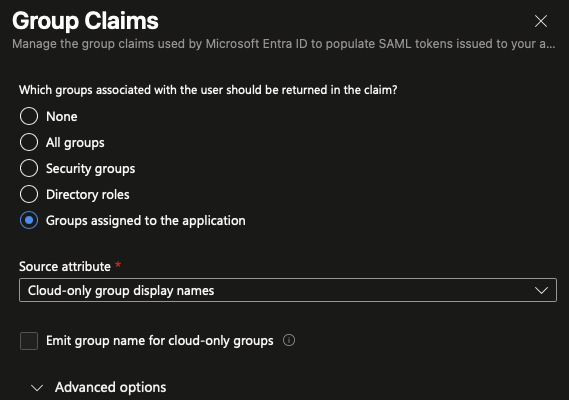
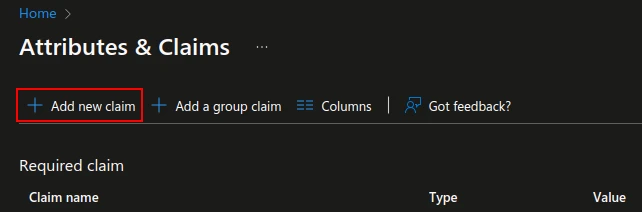
- In the Azure Enterprise App go to Attributes & Claims and select Add a group claim.
- Limit the claim to Groups assigned to the application and emit Cloud-only group display names.
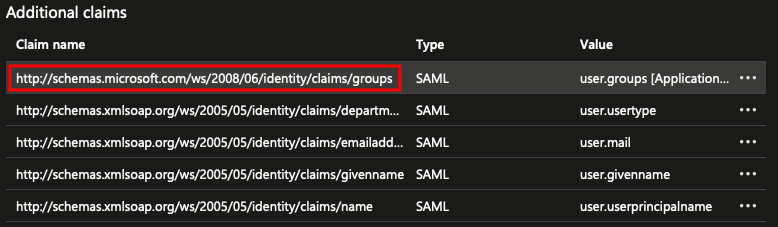
- Confirm the generated claim is
http://schemas.microsoft.com/ws/2008/06/identity/claims/groupsand the value isuser.groups [ApplicationGroup]. - Test the SAML response and confirm the expected group name is present in the assertion.
The following Azure screenshots show the step-by-step configuration inside the Enterprise App for the Group Claims flow:
The Group Claims flow sends application-scoped group information in the SAML assertion. Ensure each tenant either assigns at most one application-scoped group per user or implements a deterministic precedence policy (for example: priority order, explicit group→role mappings, or a conflict-resolution lookup). Test sign-ins and inspect the SAML assertion to verify the expected group is emitted before enabling the integration.
Azure Groups — Extension Attribute
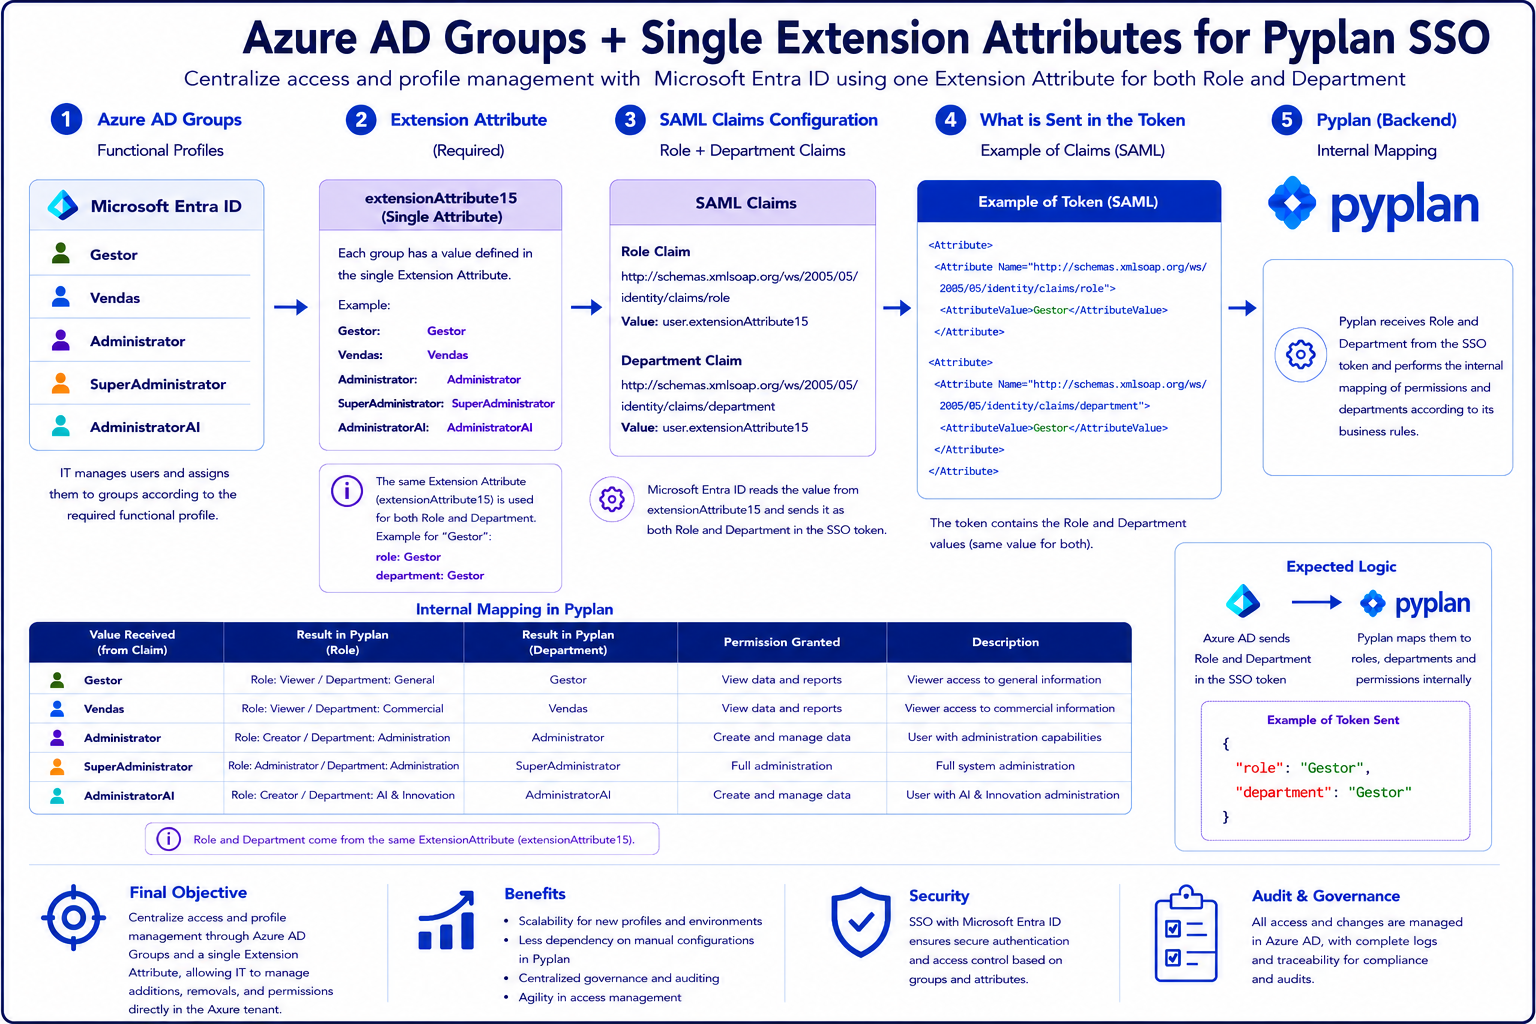
The Extension Attribute flow uses a single user attribute as the source of the effective profile. Microsoft Entra ID sends that same value in both the role and department claims, and Pyplan applies its internal permission mapping from those values.
Below we show the high-level integration flow for Extension Attributes:
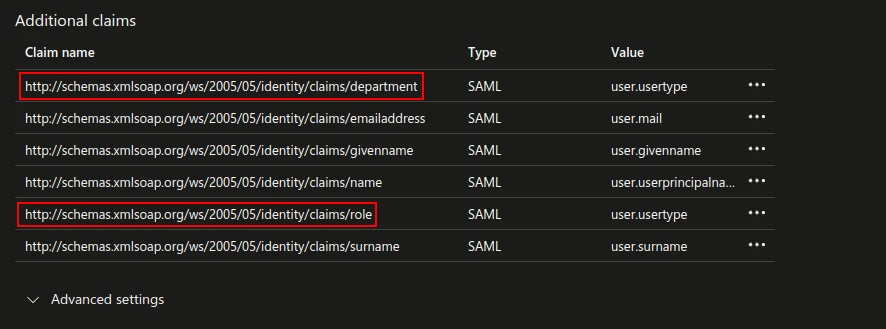
Expected claims:
| Claim name | Type | Source attribute |
|---|---|---|
http://schemas.xmlsoap.org/ws/2005/05/identity/claims/role | SAML | user.extensionAttribute15 user.extensionAttributeX user.usertype |
http://schemas.xmlsoap.org/ws/2005/05/identity/claims/department | SAML | user.extensionAttribute15 user.extensionAttributeX user.usertype |
Typical steps:
- Choose one source attribute for the tenant and populate it with the functional profile value to be sent to Pyplan.
- In the Azure Enterprise App add the
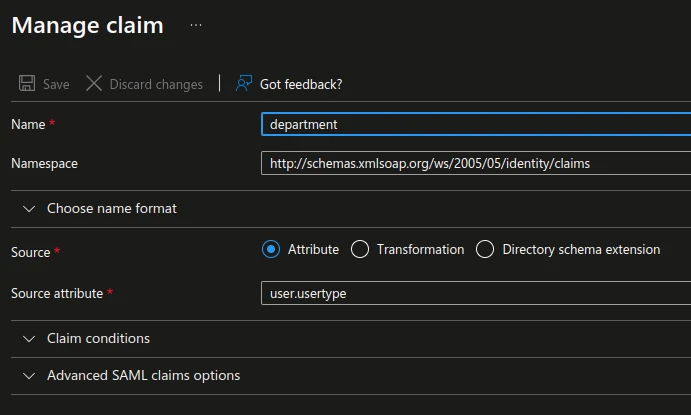
roleclaim and point it to that source attribute. - Add the
departmentclaim and point it to the same source attribute so both claims carry the same value. - Test the sign-in flow and inspect the SAML response to verify both claims are present and consistently populated.
The following Azure screenshots show the step-by-step configuration inside the Enterprise App for the Extension Attribute flow. These examples use user.usertype; if the tenant uses user.extensionAttribute15 or another approved extension attribute, the configuration steps are the same and only the source attribute changes:

Use a single controlled vocabulary for the profile values sent in role and department so the Azure configuration and the Pyplan mapping stay aligned.